As more and more developers begin to implement Rails 5 with Action Cable in order to deliver real-time features, people have been asking me--"how does it scale?"
My answer so far has been--I don't know! So, I set out to do some basic load testing on our earlier Action Cable sample app.
In this post, we'll use Tsung to run some load tests on the WebSocket connection of our Rails 5 chatting application in order to generate some stats on number of simultaneous users, max connections, etc.
Let's get started!
What is Tsung?
Tsung is a distributed, multi-protocol load testing tool. Tsung, which is developed in Erlang, simulates users in order to test the scalability and performance of client/server applications.
Tsung is so great at stress testing because it's developed with Erlang and based on the Erlang OTP. Erlang is built for concurrency and can support lots and lots of processes running simultaneously on the virtual machine.
Tsung is protocol-agnostic, and can be configured to stress test via multiple protocols, including (as of version 1.5) WebSocket protocol.
We'll install and configure Tsung and tell it to open up lots and lots of connections to our chat app. Then, we'll use the Tsung reporting feature to generate some helpful charts and tables, visible through the Tsung web console.
Installing Tsung
We need to install Tsung on our server. I'll be running Tsung locally, against my app running locally in production mode. You can run Tsung on your production server as well.
Installing Tsung on Mac OSX is super easy:
$ brew install tsung
Dependencies
Tsung has a number of dependencies, none of which I had any trouble with except Template-Toolkit.
The graph-generating feature of Tsung uses the Template-Toolkit processing system, which is written in Perl.
When trying to generate by graph reports (more on that later), I encountered the following error:
Can't locate Template.pm in @INC (you may need to install the Template module) (@INC contains: /Library/Perl/5.18/darwin-thread-multi-2level /Library/Perl/5.18 /Network/Library/Perl/5.18/darwin-thread-multi-2level /Network/Library/Perl/5.18 /Library/Perl/Updates/5.18.2 /System/Library/Perl/5.18/darwin-thread-multi-2level /System/Library/Perl/5.18 /System/Library/Perl/Extras/5.18/darwin-thread-multi-2level /System/Library/Perl/Extras/5.18 .) at /usr/local/lib/tsung/bin/tsung_stats.pl line 570.
To solve this issue, I had to manually install Template-Toolkit.
To install on Mac, run:
$ sudo cpan Template
Using Tsung
Tsung load tests are written in XML. We'll configure a WebSocket load test using this guide.
Configure to Load Test Rails
We'll create our Tsung XML file in the root directory of our Rails app.
# ./rails.xml

<?xml version="1.0"?>
<tsung loglevel="debug" version="1.0">
  <clients>
    <client host="localhost" use_controller_vm="true" maxusers="60000"/>
  </clients>

  <servers>
    <server host="localhost" port="3000" type="tcp"/>
  </servers>

  <load>
    <arrivalphase phase="1" duration="1000" unit="second">
      <users maxnumber="1500" arrivalrate="200" unit="second"/>
    </arrivalphase>
  </load>

  <options>
    <option name="ports_range" min="1025" max="65535"/>
  </options>

  <sessions>
    <session name="websocket" probability="100" type="ts_websocket">
      <request>
        <websocket type="connect" path="/cable"/>
      </request>

      <request subst="true">
        <websocket type="message" frame="text">
          {"command":"subscribe","identifier":"{\"channel\":\"RoomsChannel\"}"}
        </websocket>
      </request>

      <for var="i" from="1" to="1000" incr="1">
        <thinktime min="10" max="60" random="true"/>
        <request subst="true">
          <websocket type="message" frame="text">
            {"command":"message","identifier":"{\"channel\":\"RoomsChannel\"}","data":"{\"username\":\"guest\",\"body\":\"test\",\"action\":\"publish_message\"}"}
          </websocket>
        </request>
      </for>
    </session>
  </sessions>
</tsung>
Let's break this down a bit:
- First, all of our scenarios are enclosed in opening and closing
tsungtags:
<tsung loglevel="debug" version="1.0">
  ...
</tsung>
Define the Client/Server
To begin defining our testing scenario, we need to define the client and server.
<clients>
    <client host="localhost" use_controller_vm="true" maxusers="60000"/>
  </clients>

  <servers>
    <server host="localhost" port="3000" type="tcp"/>
  </servers>
Here, we're telling Tsung to initiate clients from localhost and to send requests from those clients to the server running on 198.199.64.203 on port 3000.
With the use of use_virtual_controller_vm="true", we're starting the load on the same host and on the same Erlang virtual machine as the controller.
Then, we define the load progression, which is accomplished by defining arrival phases. You can define a progression of arrival phases, but we'll keep it simple and just define one:
Define the Load Progression
<load>
  <arrivalphase phase="1" duration="1000" unit="second">
    <users maxnumber="1500" arrivalrate="200" unit="second"/>
  </arrivalphase>
</load>
Here, we'll telling Tsung to run the arrival phase for 1000 seconds, during which it will initiate a maximum of 1500 users at the rate of 200 users every one second.
Set Port Options
Next, we'll use the <options> tag to define a range of available client ports, so that we can run lots and lots of concurrent connections:
<options>
    <option name="ports_range" min="1025" max="65535"/>
</options>
Session Configuration
Now is where the fun starts--the session configuration.
Sessions define the content of the scenario itself. They describe the requests to execute.*
<sessions>
  <session name="websocket" probability="100"
      type="ts_websocket">

    ...
  </session>
</sessions>
Here we give our session a name, which is just there for the purposes of labeling, and a probability, which determines which session the user will run, and type.
Within our session, we'll define the requests we want to make.
For the WebSocket protocol, there are three types of requests:
connect, which will send a request to connect to a given path--in our case, the path to our WebSocket server.message, which sends a message to the serverclose, which terminates the WebSocket connection.
<request>
  <websocket type="connect" path="/cable"/>
</request>

<request subst="true">
  <websocket type="message" frame="text">
    {"command":"subscribe","identifier":"
      {\"channel\":\"RoomsChannel\"}"}
  </websocket>
</request>

<for var="i" from="1" to="1000" incr="1">
  <thinktime min="10" max="60" random="true"/>
    <request subst="true">
      <websocket type="message" frame="text">
         "command":"message","identifier":"
            {\"channel\":\"RoomsChannel\"}","data":"
 {\"username\":\"guest\",\"body\":\"test\",\"action\":\"publish_message\"}"}
      </websocket>
    </request>
</for>
Notice that our third request, that one that actually sends the messages through to our Messages Channel (defined in our
Rails 5 chatting application) does so inside of a for loop, with a thinktime set. Thinktime is the interval that should separate requests.
And that's it for our Tsung load test configuration. We're ready to run it!
Running
First, make sure that your Rails app is running, in the production environment:
$ rails s -e production
In order to run Tsung, we use the following command:
$ tsung -f <name of config file> start -k
The -f flag specifies the configuration file we are using to run Tsung, and the -k flag stands for "keep alive". It tells Tsung to continue running the web console on localhost:8091, even after the load tests have terminated. This is useful for us in navigating the reporting.
We'll create an executable file to make running this command even easier. In the root of our rails app, the same location where we defined the rails.xml Tsung configuration file, create a file benchrails.sh. We'll place our execute of tsung there:
# benchrails.sh
tsung -f rails.xml start
To make benchrails.sh executable from the command line, simply run:
$ chmod +x benchrails.sh
Now, from the terminal, we can run
./benchrails.sh
This should start our Tsung load tests running, and we should see the following in the terminal:
Starting Tsung
Log directory is: /Users/sophiedebenedetto/.tsung/log/20160922-1520
Once the test terminates, we're ready to generate our report!
Reporting
There are two options for our reporting. We can generate a static report once the tests have terminated, and open then in the browser. Or, we use the Tsung web console, running on port 8091 to view reporting stats and graphs on the fly. We'll look at both options
Generating a Static Report
In order to generate our report, we'll cd into the log directory:
$ cd /Users/sophiedebenedetto/.tsung/log/20160922-1520
From here we can run the following command:
$ /usr/local/lib/tsung/bin/tsung_stats.pl
This generates a report.html and a graph.html page, as well as series of additional graph images in the images/ directory of this folder. You can open any or all of these in your favorite browser.
Reporting in the Web Console
To view stats and graphs without generating a static report, we can simply visit localhost:8091 and we'll be offered a number of statics on our load test. Let's break down some of our reporting metrics now.
Analyzing The Report
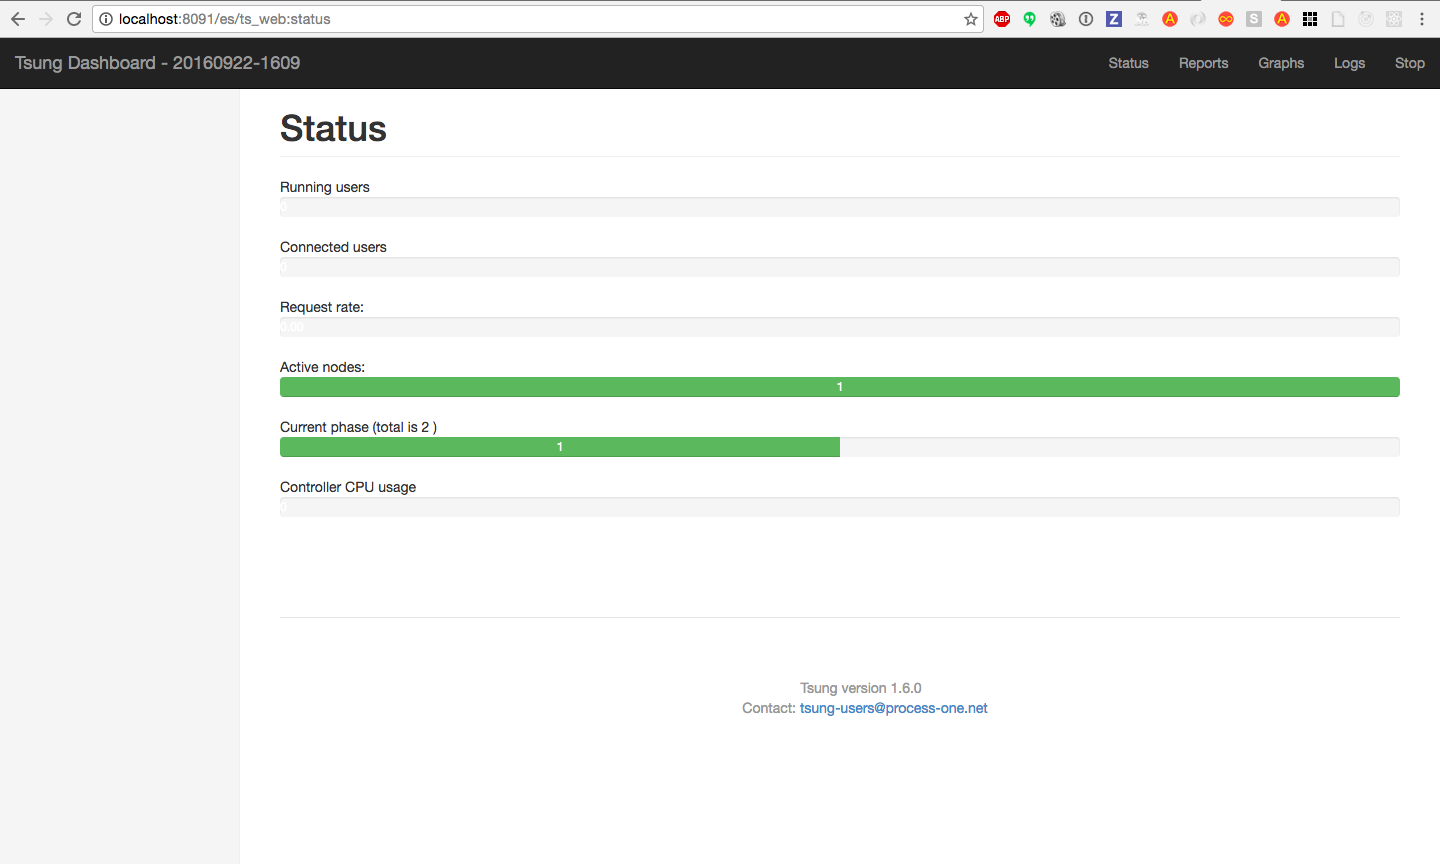
The Status Page
When we open the report, running on localhost:8091, we'll see the status of our load tests right away.
We can navigate around to view reports and graphs. I'm particularly interested in the simultaneous users graph, pictured below:
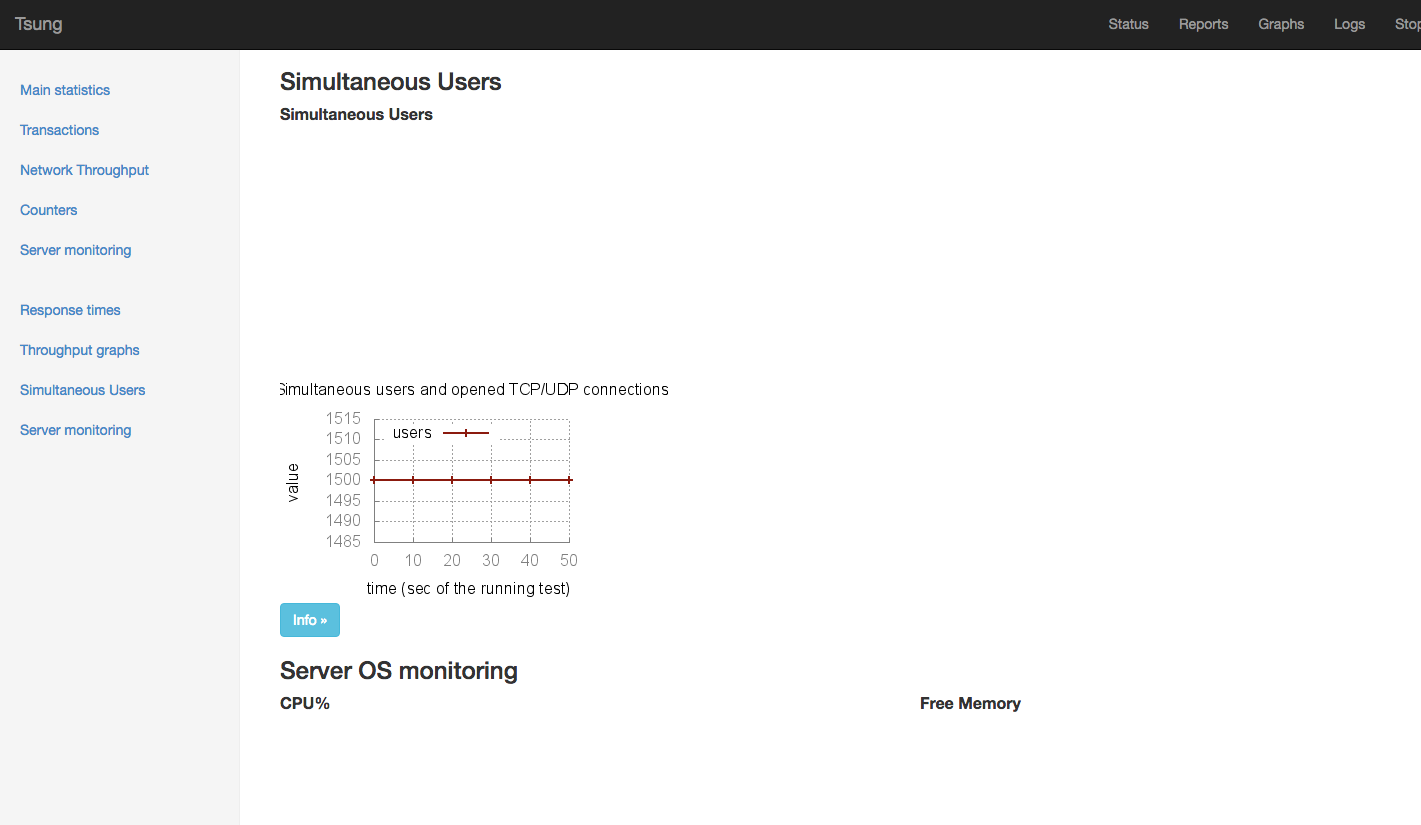
You can see that we reached our max number of users, 1500, and maintained that number of simultaneous connections throughout the run of our test.
We also see some basic stats on our sessions, requests, response time. etc.

For more info on reporting, check out the Tsung docs.